How to Build a Tkinter GUI App in Python — A Complete Beginner’s Guide (2026)
What if you could turn a simple Python script into a real, clickable desktop application in fewer than 10 lines of code?
That’s exactly what Tkinter makes possible. Whether you’ve been writing Python for a week or a few months, building your first Tkinter GUI app is one of the most satisfying milestones you’ll hit as a beginner. Instead of staring at a black terminal window, you get actual buttons, text fields, and interactive windows — the kind of software that looks like real software.
In this guide, you’ll go from zero to a working desktop app. We’ll cover everything: installing Tkinter, creating your first window, adding widgets, handling user input, and building a complete mini-application. By the end, you’ll also know the common mistakes that trip up beginners — and how to avoid them.
Let’s get started.
What Is Tkinter in Python?
Tkinter is Python’s built-in library for creating graphical user interfaces (GUIs). The name stands for Tk Interface, and it’s pronounced “tea-kay-inter”.
Under the hood, Tkinter serves as a Python wrapper around Tk, which is a GUI toolkit originally built for the Tcl scripting language. When you write a Tkinter app, Python communicates with Tcl/Tk through C extensions — but as a developer, you never have to think about any of that. You just write Python.
Why Tkinter Comes Pre-Installed
One of the best things about Tkinter is that you don’t need to install anything extra. It ships bundled with the standard Python distribution on Windows and macOS. On Linux, a single command gets it running.
This makes it the most accessible GUI toolkit in the Python ecosystem — no pip install, no virtual environment setup, no dependency headaches.
How a Tkinter App Is Structured
Every Tkinter application follows a simple pattern:
- You create a root window (the parent container)
- You add widgets (labels, buttons, entry fields, etc.) to that window
- You start the event loop that keeps the window alive and listens for user actions
Everything visual on your screen — every piece of text, every button, every input box — is a widget. Widgets live inside windows, and windows are managed by Tkinter’s layout system.
Why Learn Tkinter? (Especially as a Beginner)
Before diving into code, it’s worth understanding why Tkinter is worth your time as a beginner.
It’s already on your machine. No setup friction means you can open your editor and start building right now.
The learning curve is gentle. You don’t need to know HTML, CSS, JavaScript, or any web technology. If you know basic Python — variables, functions, loops — you’re ready.
It teaches you how GUI programming actually works. Tkinter introduces you to event-driven programming, layout management, and widget configuration. These concepts transfer directly to other GUI frameworks like PyQt, Kivy, or even web front-end development.
It runs everywhere. A Tkinter app runs on Windows, macOS, and Linux without modification. That’s meaningful when you want to share your project.
It’s perfect for small tools and scripts. File managers, calculators, form-based apps, data viewers — if you’re already writing Python scripts to automate things, Tkinter is the natural next step to give them a face.
If you’ve already experimented with Python basics like taking user input or building games like a Guess the Number game, Tkinter is your gateway to giving those projects a real graphical interface.
Installing and Setting Up Tkinter
Step 1: Check if Tkinter Is Already Available
Open your terminal or command prompt and type:
python -m tkinter
If a small window pops up with version information, Tkinter is already installed and working. You’re good to go.
Step 2: Installation by Operating System
Windows: Tkinter comes bundled with the official Python installer from python.org. No extra steps needed.
macOS: If you installed Python via Homebrew, you may run into Tcl/Tk version conflicts. The safest fix is to use the official Python installer from python.org instead of Homebrew.
Linux (Ubuntu/Debian): The default Python installation often ships without Tkinter. Install it with:
sudo apt-get install python3-tk
For other Linux distributions, use your package manager’s equivalent (e.g., dnf install python3-tkinter on Fedora).
Step 3: Verify Your Python Version
Tkinter works with Python 3.7 and above. Python 3.10+ is recommended for the best experience in 2026.
Note: In Python 2, the module was called
Tkinterwith a capital T. In Python 3, it’stkinter(all lowercase). This guide uses Python 3 throughout.
Creating Your First Tkinter Window
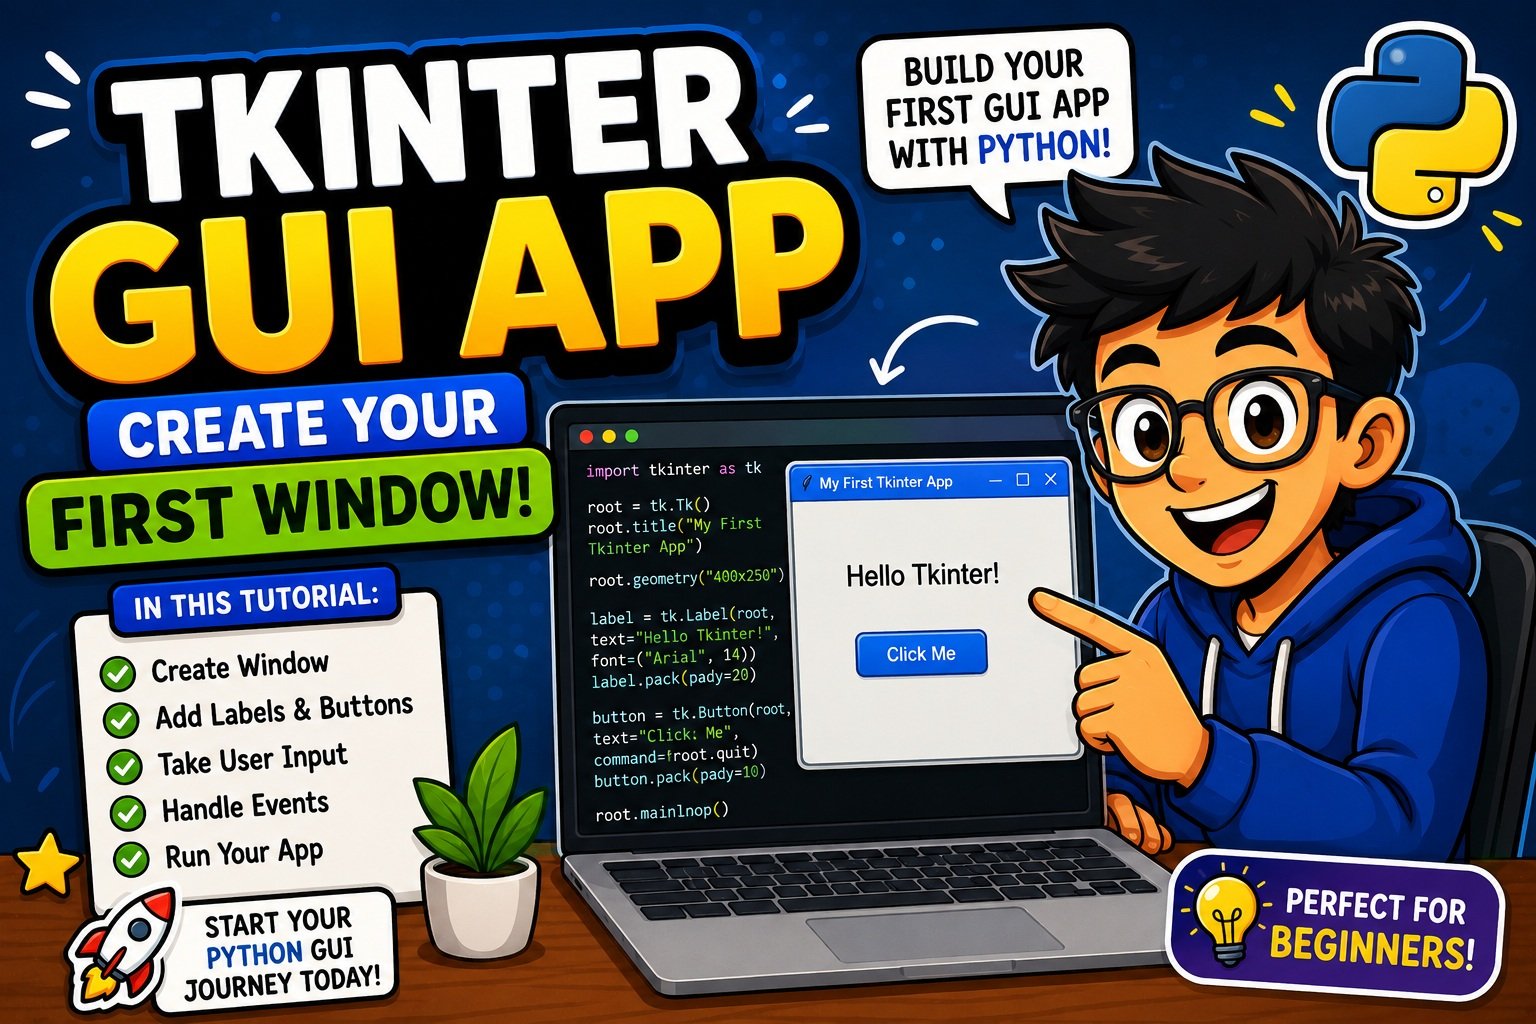
Here it is — the simplest possible Tkinter GUI app:
import tkinter as tk

root = tk.Tk()
root.title("My First App")
root.geometry("400x300")
root.mainloop()
Run this file and a real window appears on your screen. Let’s break down what every line does.
import tkinter as tk — Imports the Tkinter module. Using the alias tk saves typing and keeps your code clean. (You’ll see why avoiding from tkinter import * matters in the best practices section.)
root = tk.Tk() — Creates the main application window. This is called the root window or parent window. Every Tkinter app has exactly one root window, and it must be created before anything else.
root.title("My First App") — Sets the text that appears in the window’s title bar.
root.geometry("400x300") — Sets the initial size of the window: 400 pixels wide, 300 pixels tall.
root.mainloop() — Starts the event loop (more on this in the next section). This is the line that keeps your app alive.
Controlling Window Size and Position
root.geometry("500x400+100+50")
# width=500, height=400, x-position=100, y-position=50

root.minsize(300, 200)   # Minimum allowed size
root.maxsize(800, 600)   # Maximum allowed size
root.resizable(True, False)  # Allow horizontal resize, prevent vertical
Understanding Tk() and mainloop()
These two elements are the foundation of every Tkinter program.
What Is Tk()?
tk.Tk() creates the root window — the master container for your entire application. Think of it as the blank canvas on which you paint your interface.
Important rules:
- There can only be one
Tk()instance per application - It must be created before any widgets
- All widgets are children of this root (or children of frames inside it)
What Is mainloop()?
mainloop() is the event loop. It does two critical things:
- Keeps the window open — without it, your window would flash and disappear immediately
- Listens for events — mouse clicks, keyboard input, window resizing — and responds to them
A simple analogy: mainloop() is like a security guard at the door of your app. It never leaves its post, constantly watching for anything that happens and passing messages along.
Golden Rule:
mainloop()must always be the last line in your script. Nothing written after it will run until the window is closed.
Adding Labels to Your Tkinter Window
A Label is the simplest Tkinter widget. It displays text or an image — it doesn’t respond to clicks.
Basic Label Example
import tkinter as tk

root = tk.Tk()
root.title("Label Demo")
root.geometry("400x200")

# Create a label
label = tk.Label(root, text="Hello, Tkinter!", font=("Arial", 18))
label.pack(pady=20)

root.mainloop()
Customizing Your Label
label = tk.Label(
    root,
    text="Welcome to Python GUI",
    font=("Helvetica", 14, "bold"),
    fg="#2c3e50",        # Text color (hex or name)
    bg="#ecf0f1",        # Background color
    padx=10,
    pady=10,
    wraplength=300       # Wrap text at 300 pixels
)
label.pack()
Key Label options:
text— The string to displayfont— A tuple:(font_family, size, style)where style is optional ("bold","italic")fg— Foreground (text) colorbg— Background colorwraplength— Maximum line width before text wraps
Adding Buttons and Handling Clicks
A Button widget is how users trigger actions in your app.
Basic Button Example
import tkinter as tk

def say_hello():
    print("Hello! Button was clicked.")

root = tk.Tk()
root.title("Button Demo")
root.geometry("300x150")

btn = tk.Button(root, text="Click Me", command=say_hello)
btn.pack(pady=20)

root.mainloop()
The command Parameter — A Common Source of Confusion
The command parameter tells Tkinter what to do when the button is clicked. Here’s the critical rule:
# ✅ CORRECT: Pass the function reference (no parentheses)
btn = tk.Button(root, text="Submit", command=submit_form)

# ❌ WRONG: This CALLS the function immediately when the button is created
btn = tk.Button(root, text="Submit", command=submit_form())
When you write command=submit_form(), Python executes the function right now and passes its return value (usually None) to command. The button ends up doing nothing when clicked.
Passing Arguments to Button Commands
If you need to pass arguments, use a lambda:
def greet(name):
    print(f"Hello, {name}!")

btn = tk.Button(root, text="Greet Alice", command=lambda: greet("Alice"))
btn.pack()
Styling Buttons
btn = tk.Button(
    root,
    text="Submit",
    bg="#27ae60",         # Background color
    fg="white",           # Text color
    font=("Arial", 12, "bold"),
    width=12,
    height=2,
    relief="raised",      # Border style: flat, raised, sunken, groove, ridge
    cursor="hand2"        # Cursor changes to hand on hover
)
Taking User Input with Entry Widgets
The Entry widget is a single-line text field — the primary way users type data into your Tkinter GUI app.
import tkinter as tk

def get_input():
    user_text = name_entry.get()
    print(f"You typed: {user_text}")
    name_entry.delete(0, tk.END)  # Clear the field after reading

root = tk.Tk()
root.title("Entry Demo")
root.geometry("350x150")

tk.Label(root, text="Enter your name:").pack(pady=5)

name_entry = tk.Entry(root, width=30)
name_entry.pack(pady=5)

tk.Button(root, text="Submit", command=get_input).pack(pady=5)

root.mainloop()
Key Entry Methods
| Method | What It Does |
|---|---|
.get() | Returns the current text in the field |
.delete(0, tk.END) | Clears all text from the field |
.insert(0, "placeholder") | Inserts text at a position |
.config(show="*") | Masks input (for password fields) |
Creating a Password Field
password_entry = tk.Entry(root, width=25, show="*")
password_entry.pack()
This connects naturally to real projects — if you want to learn more about handling user input before adding a GUI to it, check out this guide on how to take user input in Python.
Window Layout Basics
Tkinter offers three geometry managers for arranging widgets on screen. Choosing the right one makes a big difference in how clean your layout looks.
The Three Geometry Managers
| Manager | Best For | How It Works |
|---|---|---|
.pack() | Simple vertical/horizontal stacking | Stacks widgets automatically |
.grid() | Form-style, row-column layouts | Places widgets in a table |
.place() | Precise pixel positioning | Absolute coordinates |
.pack() — Simple and Fast
label.pack(side="top", fill="x", expand=True, padx=10, pady=5)
side—"top"(default),"bottom","left","right"fill—"x","y","both"— expand to fill available spaceexpand—Trueallows the widget to take extra spacepadx,pady— External padding in pixels
.grid() — For Form Layouts
import tkinter as tk

root = tk.Tk()
root.title("Grid Layout")

tk.Label(root, text="Name:").grid(row=0, column=0, sticky="e", padx=5, pady=5)
tk.Entry(root, width=25).grid(row=0, column=1, padx=5, pady=5)

tk.Label(root, text="Email:").grid(row=1, column=0, sticky="e", padx=5, pady=5)
tk.Entry(root, width=25).grid(row=1, column=1, padx=5, pady=5)

tk.Button(root, text="Submit").grid(row=2, column=0, columnspan=2, pady=10)

root.mainloop()
row,column— Position in the grid (starts at 0)columnspan— Span across multiple columnssticky— Alignment:"n","s","e","w"or combinations like"ew"
.place() — Precise but Rigid
label.place(x=50, y=100)
Use .place() only when you need pixel-perfect control. It doesn’t respond well to window resizing, so it’s not recommended as a default layout manager.
Critical Warning: Never mix
.pack()and.grid()in the same container (Frame or root window). Tkinter tries to resolve conflicts between the two managers and freezes. Pick one per container and stick to it.
Event Handling in Tkinter
Events are actions the user performs — clicking, typing, hovering, pressing keys. Tkinter’s event system is how your app responds to these actions.
Method 1: The command Parameter (Buttons Only)
For buttons, command=function_name is the simplest way to attach a handler:
tk.Button(root, text="Go", command=on_go_click).pack()
Method 2: The .bind() Method (Any Widget, Any Event)
.bind() is more powerful and works on any widget — including the root window itself:
# Trigger on Enter key press
root.bind("<Return>", lambda event: on_submit())

# Trigger on left mouse click on a label
label.bind("<Button-1>", on_label_click)

# Trigger on any key press
root.bind("<KeyPress>", on_key_press)
Common Event Strings
| Event String | What It Triggers |
|---|---|
"<Button-1>" | Left mouse button click |
"<Button-3>" | Right mouse button click |
"<Return>" | Enter/Return key |
"<KeyPress>" | Any key pressed |
"<Motion>" | Mouse movement |
"<FocusIn>" | Widget receives focus |
"<Configure>" | Widget is resized |
Using StringVar for Dynamic Updates
Tkinter’s special variable types (StringVar, IntVar, DoubleVar) create a live link between a variable and a widget. When the variable changes, the widget updates automatically:
import tkinter as tk

root = tk.Tk()
result_text = tk.StringVar(value="No result yet")

tk.Label(root, textvariable=result_text, font=("Arial", 14)).pack(pady=10)

def update_label():
    result_text.set("Updated dynamically!")

tk.Button(root, text="Update", command=update_label).pack()
root.mainloop()
This is cleaner than calling .config(text=...) repeatedly, especially in complex apps.
Building a Simple Tkinter GUI App
Let’s put everything together and build a Greeting Generator — a mini app where the user types their name, clicks a button, and sees a personalized welcome message.
import tkinter as tk

def greet():
    name = name_entry.get().strip()
    if name:
        result_var.set(f"Hello, {name}! Welcome to Tkinter 🎉")
        result_label.config(fg="#27ae60")
    else:
        result_var.set("Please enter your name first.")
        result_label.config(fg="#e74c3c")

def clear_fields():
    name_entry.delete(0, tk.END)
    result_var.set("")

# --- Window Setup ---
root = tk.Tk()
root.title("Greeting Generator")
root.geometry("420x250")
root.resizable(False, False)
root.configure(bg="#f5f5f5")

# --- Heading ---
tk.Label(
    root,
    text="Greeting Generator",
    font=("Helvetica", 16, "bold"),
    bg="#f5f5f5",
    fg="#2c3e50"
).pack(pady=(20, 5))

# --- Name Input ---
tk.Label(root, text="Enter your name:", font=("Arial", 11), bg="#f5f5f5").pack()
name_entry = tk.Entry(root, width=30, font=("Arial", 11))
name_entry.pack(pady=8)
name_entry.focus()  # Place cursor in field on launch

# --- Buttons ---
btn_frame = tk.Frame(root, bg="#f5f5f5")
btn_frame.pack(pady=5)

tk.Button(btn_frame, text="Greet Me", command=greet, bg="#3498db",
          fg="white", font=("Arial", 11), width=10).pack(side="left", padx=5)

tk.Button(btn_frame, text="Clear", command=clear_fields, bg="#95a5a6",
          fg="white", font=("Arial", 11), width=8).pack(side="left", padx=5)

# --- Result Label ---
result_var = tk.StringVar()
result_label = tk.Label(root, textvariable=result_var, font=("Arial", 12),
                        bg="#f5f5f5", wraplength=380)
result_label.pack(pady=15)

# Pressing Enter triggers greet
root.bind("<Return>", lambda event: greet())

root.mainloop()
What this app demonstrates:
- Window setup with
geometry()andconfigure() - Labels, Entry, and Buttons working together
- Input validation (checking for empty input)
- Dynamic label updates with
StringVar - Binding the Enter key to a function
- A
Framecontainer for grouping buttons side by side .focus()to place the cursor in the input field automatically
When you run this, you’ll have a real desktop application. Not a terminal script — an actual clickable window.
If something doesn’t display as expected, the Python debugging guide walks through how to systematically find and fix issues in your code.
Common Tkinter Beginner Mistakes (And How to Fix Them)
Learning Tkinter means running into a handful of very predictable errors. Here’s what to watch for:
Mistake 1: Forgetting mainloop()
Symptom: The window opens for a split second and instantly disappears.
# ❌ Missing mainloop
root = tk.Tk()
root.title("My App")
# Window closes immediately
# ✅ Correct
root = tk.Tk()
root.title("My App")
root.mainloop()  # Always last
Mistake 2: Calling the Callback Instead of Passing It
Symptom: Your button function runs immediately when the app launches, then does nothing when clicked.
# ❌ Wrong — runs immediately, assigns None to command
tk.Button(root, text="Go", command=handle_click()).pack()

# ✅ Correct — passes the reference, runs on click
tk.Button(root, text="Go", command=handle_click).pack()
Mistake 3: Mixing .pack() and .grid()
Symptom: The app freezes or widgets disappear.
# ❌ Wrong — mixing managers in the same window
label.pack()
button.grid(row=0, column=0)

# ✅ Correct — use one manager per container
label.grid(row=0, column=0)
button.grid(row=1, column=0)
Mistake 4: Using Wildcard Imports
# ❌ Bad practice — pollutes namespace, causes hard-to-debug conflicts
from tkinter import *

# ✅ Clean and explicit
import tkinter as tk
Wildcard imports become especially problematic when you use Tkinter’s themed widget module (ttk) alongside the base tkinter module. Name collisions are hard to track down.
Mistake 5: Forgetting to Add a Widget to the Layout
Symptom: You create a widget, no error appears, but nothing shows up on screen.
# ❌ Widget created but not added to layout
label = tk.Label(root, text="Hello")
# Nothing visible!

# ✅ Widget added to layout
label = tk.Label(root, text="Hello")
label.pack()  # or .grid() or .place()
Mistake 6: Blocking the Event Loop with Slow Code
Symptom: Your app freezes while a function runs (downloading a file, processing data, etc.).
# ❌ This blocks the UI for 5 seconds — app freezes
import time
def slow_task():
    time.sleep(5)
    print("Done")

# ✅ Use root.after() for delayed tasks
def slow_task():
    print("Starting...")
    root.after(5000, lambda: print("Done"))  # Runs after 5 seconds, non-blocking
For long-running tasks, the proper solution is Python’s threading module combined with Tkinter’s .after() method.
This also ties into broader Python error handling — if you’re running into IndentationError or similar issues in your scripts, check out how to fix IndentationError in Python.
Tkinter Best Practices
Writing clean, maintainable Tkinter code comes down to a few good habits:
Always import as import tkinter as tk — Never use wildcard imports. The explicit namespace makes your code readable and avoids hidden conflicts.
Use OOP to structure real apps — For anything beyond a simple script, wrap your app in a class:
import tkinter as tk

class MyApp(tk.Tk):
    def __init__(self):
        super().__init__()
        self.title("My App")
        self.geometry("400x300")
        self._build_ui()

    def _build_ui(self):
        tk.Label(self, text="Welcome!", font=("Arial", 14)).pack(pady=20)
        tk.Button(self, text="Quit", command=self.destroy).pack()

if __name__ == "__main__":
    app = MyApp()
    app.mainloop()
This structure scales as your app grows. If you’re new to classes and objects, the guide on OOP in Python is a great foundation before diving into this pattern.
Separate logic from UI code — Functions that handle business logic (calculations, file reads, validations) should not be tangled inside widget callbacks. Write them separately and call them from handlers.
Use StringVar / IntVar for dynamic widget values — These Tkinter variable classes create two-way data binding and produce cleaner code than repeatedly calling .config(text=...).
Use tk.Frame to group related widgets — Frames act as sub-containers and make layout management much easier. Each frame can have its own geometry manager.
Name your widgets meaningfully — submit_btn and username_entry are infinitely easier to debug than btn1 and entry3.
Keep mainloop() as the very last line — No exceptions.
For readers who want to level up Python code organization in general, Python Decorators Made Simple is worth reading — decorator patterns are commonly used in well-structured Tkinter applications.
Tkinter vs Web Frameworks
A question that comes up often: should I build my project as a Tkinter desktop app, or as a Flask/Django web app?
The answer depends entirely on what you’re building and who will use it.
| Feature | Tkinter GUI App | Flask / Django Web App |
|---|---|---|
| Output | Desktop window (offline) | Website in a browser |
| Internet required | No — runs locally | Yes — users need a browser |
| Ease for beginners | Very easy | Moderate (HTML/CSS needed) |
| UI customization | Limited to Tkinter widgets | Full HTML/CSS/JavaScript |
| Distribution | Share .py or packaged .exe | Deploy to a server |
| Best for | Local tools, scripts, utilities | Multi-user web apps, APIs |
Choose Tkinter when: You want an offline tool — a calculator, file processor, data entry form, or any utility that runs on your own machine without a server.
Choose Flask or Django when: You want multiple users to access your app through a browser, or you need features like authentication, databases, or public URLs.
These aren’t mutually exclusive paths. Many developers start with Tkinter to learn GUI fundamentals, then move to web frameworks later. If you’re already curious about the web side, Build a Simple Website Using Flask is a great next step, and Django vs Flask — Which Python Framework? will help you decide between the two.
GUI App Ideas to Practice With Tkinter
The best way to learn Tkinter is to build things. Here are eight beginner-friendly project ideas, ordered roughly from simplest to more involved:
1. Simple Calculator Buttons for digits (0–9) and operations (+, -, ×, ÷). A Label or Entry to display results. Great for practicing grid layout and event handling.
2. Unit Converter Convert temperature (Celsius ↔ Fahrenheit), weight (kg ↔ lbs), or distance (km ↔ miles). Uses Entry widgets for input and labels for output.
3. BMI Calculator Input fields for height and weight. Calculate BMI on button click and display a health category label.
4. To-Do List App A Listbox widget to display tasks, an Entry to add new ones, and a button to delete selected items. Good practice for the Listbox widget.
5. Countdown Timer A label that counts down from a user-set time. Uses Tkinter’s .after() method for real-time updates without freezing the UI.
6. Note Saver App A text area where users type notes, a button to save them to a .txt file, and another to open saved notes. This connects directly to reading and writing text files in Python.
7. Quiz App Display multiple-choice questions one at a time, track the user’s score, and show results at the end. Great for practicing logic separation from UI.
8. Password Generator Checkboxes for including uppercase, numbers, symbols. A slider for length. A button that generates and displays a random password. Also copies it to clipboard using root.clipboard_append().
For more structured Python coding practice beyond GUI projects, 50 Python Coding Questions for Practice gives you a wide range of exercises. And if you want AI-generated project ideas tailored to your level, the PyCodeRoom AI Task Generator is a useful tool.
Frequently Asked Questions
Is Tkinter free to use?
Yes. Tkinter is open-source and included with Python at no cost. You can use it for personal projects, educational purposes, or even commercial applications.
Does Tkinter work with Python 3?
Absolutely. Tkinter has been fully supported throughout all Python 3.x versions. Just remember the module name is tkinter (lowercase t) in Python 3 — not Tkinter like in Python 2.
Can I build professional desktop apps with Tkinter?
Tkinter is excellent for small-to-medium desktop utilities and learning projects. For large-scale commercial applications with complex UIs, frameworks like PyQt6 or Kivy offer more widget variety and polish. The third-party library CustomTkinter is also popular for giving Tkinter apps a modern look.
How do I make my Tkinter app look more modern?
Use the ttk (Themed Tkinter) module — it’s included in the standard library and provides styled widgets that look closer to native OS controls. The customtkinter library (available via pip) takes this further with dark mode, rounded buttons, and Material Design-style themes.
Why does my Tkinter app freeze?
Freezing happens when a long-running operation (network request, file processing, heavy computation) runs in the main thread and blocks the event loop. Fix this by moving the long task into a separate thread and using root.after() to safely update the UI from the result.
What is the difference between pack(), grid(), and place()?
.pack()automatically stacks widgets vertically (or horizontally) — fast to use for simple layouts.grid()positions widgets in a row/column table — ideal for forms and structured layouts.place()uses exact pixel coordinates — maximum control, but not responsive to window resizing
Can Tkinter interact with files or send emails?
Yes! Python’s standard library handles those tasks. You can read files with open() (see: How to Read and Write Text Files in Python) and trigger email sending with smtplib (see: How to Send Emails Automatically Using Python). Your Tkinter app just provides the GUI layer on top.
Conclusion
You’ve now covered the full foundation of building a Tkinter GUI app in Python. Here’s a quick recap of what you’ve learned:
- Tkinter is Python’s built-in GUI library — no installation required
- Every app starts with
tk.Tk()(the root window) and ends withroot.mainloop() - Widgets (Labels, Buttons, Entry fields) are the visual building blocks of your interface
- Three layout managers —
pack(),grid(), andplace()— control how widgets are arranged - Events are handled through
command=for buttons and.bind()for everything else - Common mistakes like forgetting
mainloop(), mixing layout managers, or calling callbacks incorrectly are easy to avoid once you know them - Structuring your app with classes makes it far more maintainable as it grows
The best thing you can do right now is build something. Pick one of the project ideas from the list above, write it from scratch, break it, fix it. That cycle of building and debugging is where the real learning happens.
Once you’re comfortable with Tkinter basics, natural next steps include building a simple chatbot in Python and thinking about how you’d give it a Tkinter interface, or exploring automation tasks that could benefit from a GUI.
And if you’re thinking about job readiness, Python GUI knowledge is a solid talking point — check out these Top 20 Python Interview Questions for Beginners 2026 to see how Python fundamentals connect to real interviews.
Happy coding. 🐍